Step 1: Initial Assessment and Moisture Mapping (Hour 0 to 2)
- Cut power to affected circuits at the breaker before entering standing water.
- Photograph every wet surface, ceiling, wall cavity, and contents. Insurance adjusters require dated images.
- Identify and stop the water source. Shut off the main supply valve if a pipe is involved.
- Categorize the water per IICRC S500: Category 1 (clean supply), Category 2 (gray, dishwasher or washing machine), Category 3 (black, sewage or floodwater). Any water sitting more than 48 hours degrades to Category 3.
- Map moisture with a calibrated pin meter and thermal imaging camera. Document readings in drywall (target dry: under 16%), wood framing (under 15%), and subfloor (under 14%).
- Define the affected area in square feet and assign an IICRC S520 Condition: 1 (normal), 2 (settled spores), or 3 (active growth).
- Note ambient conditions on arrival: temperature, relative humidity, and dew point. McCordsville Water Restoration technicians log these every 4 hours through the project.
- Sketch a floor plan with affected zones shaded, moisture meter readings labeled at each point, and a north arrow. This becomes the working document for the entire job.
Step 2: Containment Construction (Hour 2 to 4)
- Build 6-mil polyethylene barriers around any Condition 3 area larger than 10 square feet.
- Install a decontamination chamber with two-stage zippers for areas exceeding 100 square feet.
- Establish negative air pressure at minimum 0.02 inches of water column using HEPA-filtered air scrubbers.
- Size scrubbers for at least 4 air changes per hour. For a 12 by 15 room with 8-foot ceilings (1,440 cubic feet), that means a minimum 100 CFM machine running continuously.
- Seal HVAC supply and return vents within the containment with poly and tape.
- Post regulated-area signage at every entry per OSHA guidance.
- Verify negative pressure with a manometer or simple tissue test at the entry zipper. The poly should pull inward when the chamber is closed.
- Stage personal protective equipment outside the chamber: N95 minimum for Condition 2, full-face P100 respirator with nitrile gloves and Tyvek suits for Condition 3.
Step 5: Structural Drying to IICRC Targets (Day 1 to 5)
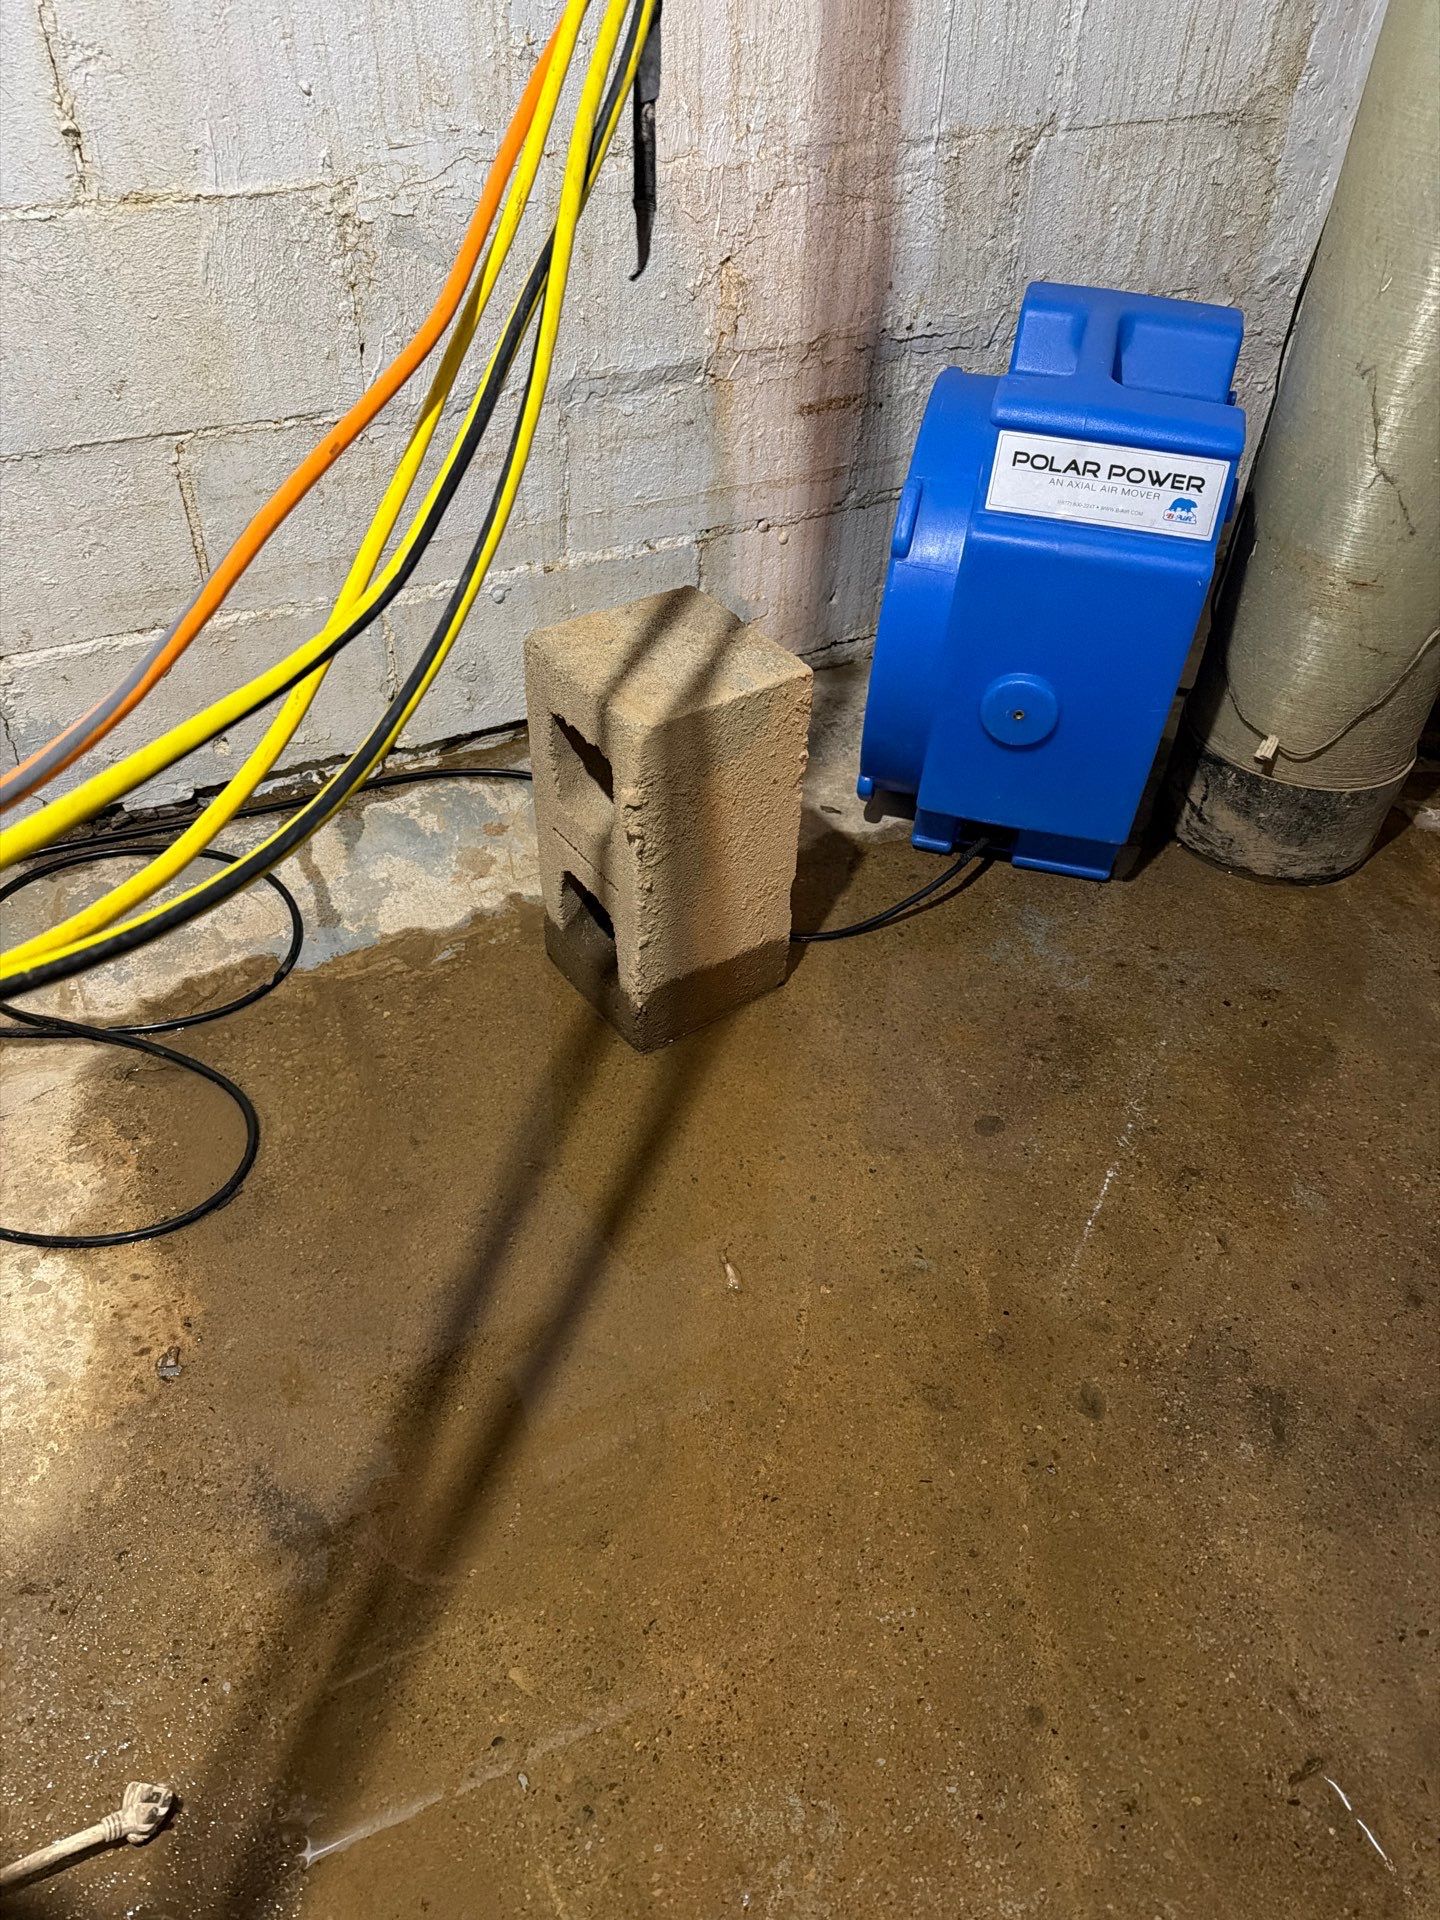
- Deploy air movers at 1 unit per 10 to 16 linear feet of wet wall, angled at 15 to 45 degrees.
- Set commercial dehumidifiers (LGR or desiccant) sized to the affected cubic footage. Rule of thumb: 1 LGR per 1,000 square feet of Class 2 loss.
- Maintain interior conditions at 70 to 90 degrees with relative humidity under 40%.
- Take daily moisture readings at the same documented points. Drying should progress at least 2 to 5 percentage points per 24 hours.
- Drying is complete when readings match the dry standard from an unaffected reference area in the same home.
- For hidden cavity drying behind walls, review our notes on water damage behind walls for thermal verification techniques.
- If readings plateau for 48 hours, escalate equipment. Add an injection drying system with cavity tubes, or switch from LGR to desiccant when ambient temperature falls below 60 degrees.
- Empty dehumidifier reservoirs or confirm condensate pump operation twice daily. A stalled pump can flood a freshly dried floor in hours.
Step 6: Post-Remediation Verification (Day 5 to 7)
- Visual inspection: no dust, debris, or visible growth on any surface inside the containment.
- Moisture verification: every documented point at or below the dry standard.
- Third-party air sampling when the original Condition was 3 or when occupants have health sensitivities. Pass criteria: indoor spore counts at or below outdoor baseline, with no Stachybotrys, Chaetomium, or Aspergillus/Penicillium dominance.
- Surface sampling (tape lift or swab) on previously visible growth areas. Pass means no viable colonies.
- Release containment only after written clearance from an Indoor Environmental Professional when required by scope.
- Issue a final report to the homeowner including moisture logs, photo documentation, lab results, and equipment run times.
Step 8: Documentation and Long-Term Monitoring
- Archive the full project file: assessment notes, daily moisture logs, photos, lab reports, and clearance letters. Retain for at least 7 years.
- Schedule a 30-day and 90-day follow-up moisture check in any previously affected cavity.
- Provide the McCordsville homeowner with a maintenance calendar covering gutter cleaning, sump pump testing, HVAC filter changes (every 60 to 90 days), and dehumidifier servicing.
- For repeat losses in the same location, McCordsville Water Restoration recommends a forensic plumbing inspection before any further reconstruction.
Step 7: Reconstruction and Prevention (Week 2 onward)
- Reinstall drywall, insulation, baseboards, and flooring using materials matched to original finish.
- Prime exposed framing with a stain-blocking, mold-resistant primer before closing walls.
- Address the root cause. For chronic basement moisture, see our resource on sump pump failure solutions.
- Set indoor humidity targets year-round: 30 to 50% in McCordsville homes. Install a hygrometer in every basement and crawl space.
- Inspect plumbing supply lines, water heater pans, washing machine hoses, and HVAC condensate lines every 6 months.
- Replace rubber washing machine hoses with braided stainless steel rated to 1,500 PSI.
- Install water leak sensors near every appliance, under sinks, and at the water heater. Smart sensors that auto-shut the main valve cut average loss volume by 80 to 90%.
- Slope exterior grade away from the foundation at a minimum of 6 inches over the first 10 feet, and extend downspouts 4 to 6 feet from the wall.
Step 3: Water Extraction and Material Removal (Hour 4 to 12)
- Extract standing water with truck-mounted or portable units rated above 100 PSI vacuum.
- Remove non-salvageable porous materials: wet carpet pad, saturated drywall (cut 12 to 24 inches above the wick line), insulation, ceiling tiles, and particleboard.
- Bag all Condition 3 materials in 6-mil double bags, sealed and HEPA-vacuumed before exiting containment.
- For sewage involvement, follow the protocols in our sewage backup cleanup guide, including disposal manifests.
- Detach baseboards, drill weep holes in wall plates if cavities are wet, and lift vinyl or laminate flooring with vapor barrier underlayments.
- Document each removed material with photos and approximate square footage for the scope sheet.
- Save 6 inch samples of removed flooring and drywall in labeled bags for matching during reconstruction.
Step 4: HEPA Cleaning and Antimicrobial Application (Hour 12 to 24)
- HEPA-vacuum all surfaces inside containment using machines rated to capture 99.97% of 0.3-micron particles.
- Damp-wipe non-porous surfaces (studs, joists, concrete, tile) with an EPA-registered antimicrobial. Common active ingredients include quaternary ammonium or hydrogen peroxide solutions.
- Allow the manufacturer-specified dwell time, typically 10 minutes, before any wiping or rinsing.
- Repeat HEPA vacuum after antimicrobial dries. The wet-vacuum-dry sequence captures spores antimicrobial alone cannot.
- Sand visible surface staining on framing only after spores are killed and removed, never before.
- Capture sanding dust at the source with a HEPA-shrouded sander rated to 99.97% filtration.
- Apply a clear encapsulant (acrylic or shellac-based) over framing where staining persists after sanding. Coverage rate is roughly 200 square feet per gallon.